GEOG 4/575 Lab 6: Geometric Transformation and Geodatabase Data Model and Schema - ArcMarine
Due Nov 18.
There are two parts in Lab 6. In Part A, you will do a geometric transformation and vectorization of raster images. Part B exercises allow you to explore and maintain an ArcGIS geodatabase structure, also known as a database schema, on the ArcMarine data model. Please read the additional instructions carefully to learn the discrepancies between the lab instructions and the ArcGIS 10 software you use in the lab. Please copy lab data to your working directory in c:\Students before you start. Answer and submit all questions listed at the end of both Parts A and B.
PART A - Geometric Transformation
You will use ArcMap's Georeferencing Tools and ArcScan extension to do geometric transformation and vectorization of raster images. These are important GIS data compilation tasks when converting traditional paper maps or remotely sensed images into a GIS database. You can also use these techniques to georeference a GIS data layer whose spatial reference information is missing or inaccurate. As mentioned in the lecture, collecting GCPs is the most challenging step in geometric transformation and requires a lot of experience. Pay extra attention to the step of collecting GCPs when doing this lab.
Finish all tasks in Chang's Chapter 6. Lab exercise data are available at: I:\Students\Instructors\Geoffrey_Duh\GEOG4575\Chang_5e\chap6 (or on the textbook CD).
Additional Instructions for Part A:
1. Before you start Task 3, you need to delete the spot-pan.bil.xml and spot-pan.aux that come with the spot-pan.bil file. These files are in the same folder as the spot-pan.bil. If you don't see spot-pan.bil.xml and see two spot-pan.bil files, then you will need to change the folder view option in the windows explorer to see the file extension names. Open My computer (or Computer on Windows 7) and click tools -> Folder Options (or Organize pull-down menu and select "Folder and Search Options" on Windows 7). Click the View tab and uncheck the "Hide extensions for known file types." Click OK and you should be able to see spot-pan.bil.xml file.
2. Task 2. ArcScan is an extension to ArcGIS. Make sure you enable it before using its tools.
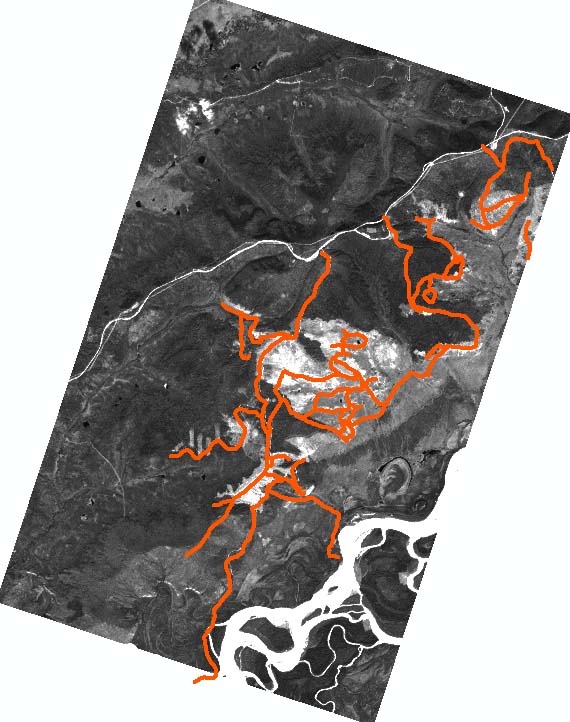
3. In Task 3, Step 1, continue with the lab instructions even if you don't see any links in the Link Table (the xml file you deleted contains the links). If you have difficulty finding the matching GCPs, click here to see how the roads line up with the SPOT image. You can use the fit to display or flip or rotate tools on the Georeferencing toolbar to superimpose the image over to the roads in ArcMap. If ArcGIS 10's auto-snapping prevents the selection of good link points, use the Snapping Toolbar (from the Editor pull-down menu) to disable all four types of snapping.
Part A Questions:
1. Report the RMSE values (including those of individual GCPs) you got in Tasks 1 and 3. Please insert the screenshots of the Link Tables from both Tasks in your report. Also attach a screenshot of the rectified SPOT image superimposed by the roads.
2. Use the properties dialog window to check the projection information of rect_hoytmtn.tif. What is the projection of the rect_hoytmtn.tif image that you just georeferenced? Which tool you should use to correct this problem?
3. The hoytmtn.tif image contains scanned soil lines. The hoytmtn_trace.shp contains polyline features. If what you need is a soil polygon featureclass, what additional steps in ArcGIS are required to generate the polygon featureclass? Briefly describe the steps and tools you will use. Use ArcGIS online help to find the appropriate tools.
4. You need a polyline featureclass of the old drainage channels on the east side of Portland for your research project. All you found is a paper map of these drainage channels. Assuming that you only have a large format scanner and don't have a table digitizer. Please describe the steps to create a drainage channels GIS layer from the paper map.
PART B - ArcMarine
Now you have used most of the geodatabase management features in ArcGIS in the lab exercises. These features include feature dataset, attribute domain, subtype, relationship class, and topology. Together with raster catalog feature (which will be covered in this lab), network feature (which will be covered in Lab 7), mosaic, and terrain datasets feature (which we talked about in lectures, but will not be covered in the labs), they serve as the foundation for building a modern and versatile GIS database in ArcGIS.
In ArcGIS geodatabase, the definitions and information related to the above mentioned features are an integral part of the geodatabase. GIS database designers are able to create and implement a conceptual database framework in a geodatabase without having a complete GIS dataset. Such a conceptual framework is called a geodatabase data model in ArcGIS. A (database) schema is a systematic description of the structure of a data model. We will use ArcGIS tools to create a geodatabase based on a predefined schema, using ArcMarine as an example.
ArcMarine is one of many geodatabase data models that are available for download from the ESRI data model webpage. (You can take a quick look at the webpage and find any information that could be useful for your term project.) Now go directly to the ArcMarine tutorial webpage, read through the introduction, and finish the tutorial (you can skip the optional task 5). The lab data can be downloaded from the tutorial webpage. Alternatively, you can find a copy of the lab data in I:\Students\Instructors\Geoffrey_Duh\GEOG4575\Lab6.
Additional Instructions for Part B:
1. Task 1. Follow the instructions here to complete Task 1.
a. In ArcCatalog, create a personal geodatabase, called MyArcMarineTut.mdb, in your working Lab 6 working folder.
b. Now you need to create a database schema based on an existing GDB and apply the schema to the GBD you just created. In ArcCatalog, navigate to E_Datamodel\Tutorial\ArcMDM folder. Take a quick look at the contents of the ArcMarine GDB. Right-click on the ArcMarine GDB and select Export/XML Workspace Document.
c. Check the Schema Only option and specify an output XML file. Make sure you remember the name and location of the output file! Click Next to continue.
d. On the next screen, the default selects all items for you. Click Include All to make sure the complete ArcMarine database schema is selected. You can click Summary to see a summary of the export task. Click Finish to complete the task.
e. Right-click on MyArcMarineTut.mdb and select Import/XML Workspace Document to import the XML file you just created.
f. Read Task 1, Step C: "Applying the Arc Marine Data Model Schema to the Geodatabase" and use the properties dialog window of the MarineFeatures feature dataset to import the Spatial Reference data of E_Datamodel\Tutorial\Shapefiles\Monterey_Study_Area.shp as the XY Coordinate System of the MarineFeatures feature dataset. Please note that ArcGIS 10 high-precision database no longer requires the definitions of domain and precision information.
g. Follow the rest of the instructions to complete Lab 6 Part B.
2. Task 2. Step E. If you experience screen refresh problem when working with the Content tab of a raster catalog in a personal GDB, please restart ArcCatalog.
Part B Questions:
1. Briefly describe the major datasets, featureclasses, tables, and 4 relationship classes of the ArcMarine data model.
2. You developed an ArcGIS file geodatabase for managing the regional land information system (RLIS) for Portland Metro. The City of Detroit (part of the Southeast Michigan Council of Governments) is interested in developing a similar regional GIS database and asks you for RLIS' database structure and detail ArcGIS GDB design specification. Describe your options for sharing the information with Detroit to help them create their regional GIS.