GEOG 490/590
GIS Programming
Exercise 5: Introduction to
Geoprocessing
This exercise lets you practice using the three types of
geoprocessing that we discussed in class. You can use the sample code (Ex5_CodeSample.txt) for this exercise. You will
need to use a shapefile and a raster grid for this exercise. You can download
sample data here.
Create an ArcMap add-in with a button. Copy and paste the
sample code as individual subroutines into the body of the button class. Call
the subroutines one at a a time from the OnClick() method of the button as you
work your way through them.
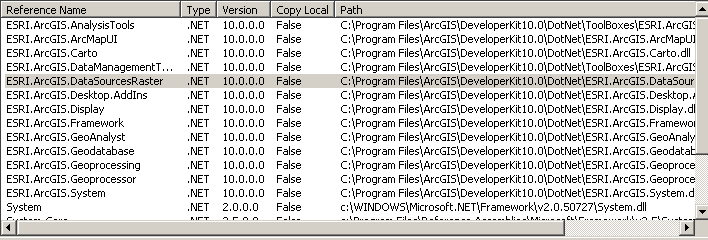
- Before using the subroutines, you need to add the
required assemblies to your add-in. See this image for a list of the assemblies.
- The first subroutine (GeoprocessingBuffer) is an
example of using the geoprocessing library. You will need to change the
file paths to match the directory where you save the sample data on your
computer. After you get this running successfully, try substituting the
clip tool for the buffer tool. The tool information page for the clip tool
is here.
Try clipping your buffered layer to your original layer and see if the
output matches your original layer.
- The second subroutine (GeoprocessorBuffer) is an
example of using the geoprocessor managed assembly. If you run it following
a successful run of step 2, it will throw an exception because the output
already exists. That's okay. Check the output window on VB Express to see
what messages are written when the geoprocessor encounters an
exception.
- Delete the output shapefile(s) from step 2 and run
GeoprocessorBuffer again. Note the use of an environment variable to set
the workspace. Note also how you set properties of the tools rather than
feeding them a collection of settings. Do you think this is easier?
- Try running the ListGPEnvironmentSettings subroutine.
This is a helper subroutine that dumps all of your geoprocessor settings to
the console. It can be helpful to see what settings are available and what
they are set to.
- The final subroutine is Geoanalyze(). This is an
example of how to use the Geoanalysis geoprocessing tools. The tools
require 3D and Spatial Analyst so verify these extensions are enable before
trying to run the example. Geoanalysis tools only work with raster data.
There is a sample DEM included with the sample data for you to use. You'll
need to add the DEM to ArcMap before running the subroutine. Once you get
it working, try changing the number of slices. This subroutine doesn't save
the output so you can run it repeatedly.